
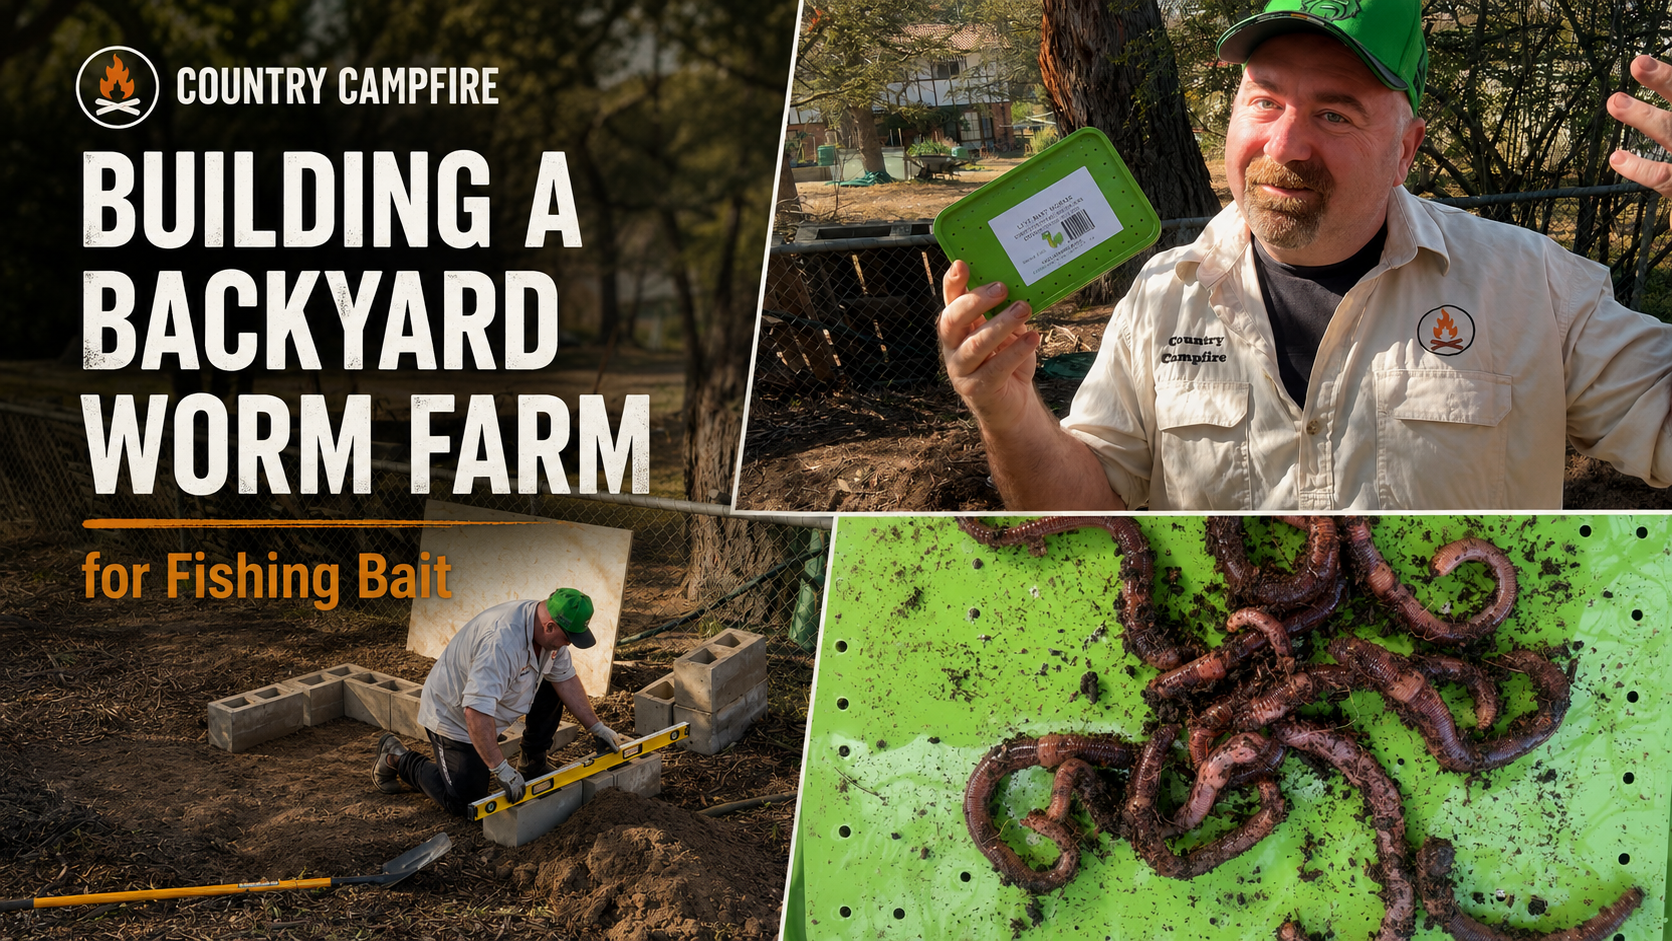
Fish love worms. That part’s pretty simple.
But this worm farm wasn’t really built for me.
I built it for my little bloke.
He’s not even two yet, so at the moment he’s obviously a bit young to be responsible for maintaining a worm farm. But the worms I’ve put in there are going to take time to establish properly anyway. Realistically, we’re probably looking at more than a year before the whole thing has really settled in and built up into a decent population.
By then, he’ll be that little bit older.
And that’s the picture I’ve got in my head.
One day I’ll be getting the fishing gear together and I’ll be able to say:
“Mate, we’re going fishing. Run down to the worm farm and get us some worms.”
That’s really why I built it.
Starting a little fishing tradition
I wanted something simple in the backyard that could eventually become part of going fishing together.
Not something expensive. Not some elaborate commercial worm-farming setup.
Just a patch down the back where the worms live.
As he gets older, hopefully it becomes his worm farm. Something he can feed, dig around in, learn from and eventually raid whenever we need some bait.
There’s a fair chance he’ll probably know more about what’s happening in there than I do eventually.
For now though, Dad had to build the bloody thing.
Watch the build
I filmed the whole process of putting the worm farm together, including my little bloke helping me add the first worms.
Building the worm farm
I wanted to keep the whole thing simple and use as much material as I already had lying around rather than going out and buying a complete worm farm setup.
The first decision was where to put it. I chose a shaded area down the backyard under the trees. Worms like a cool, moist environment, so putting the bed somewhere that wasn’t going to sit in full sun all day made a lot more sense than trying to fight the heat later.
Once I’d picked the spot, I cleared the area, raked it out and roughly marked where the worm farm was going to sit.
For the outside walls I used Besser blocks that I already had. I laid them out to form a simple rectangular bed, then spent a bit of time levelling the ground underneath so the blocks sat reasonably well.
It certainly wasn’t precision brickwork. It just needed to hold everything together and give me enough depth for a decent worm bed.
Keeping the bottom open
I didn’t put a solid floor underneath the worm farm.
Instead, once the blocks were in position I broke up and forked over the existing soil inside the bed. That leaves the worm farm connected to the ground underneath rather than turning it into a completely sealed container.
From there I started building up the bedding.
Cardboard, compost, leaves and dirt
The base started with ripped-up cardboard. I used old cardboard boxes, tore them into pieces and spread them through the bed before wetting everything down.
Then I started layering in the organic material I had available.
That included dry compost and leaf matter, dirt and soil, more torn cardboard and other broken-down organic material from around the yard.
I didn’t follow an exact recipe or measure everything out. I basically alternated the materials, wetting the layers as I went, until I had built up a deep, loose bed with plenty of different material for the worms to eventually work through.
The cardboard gives the bed plenty of carbon-rich material while the compost, leaves and soil introduce organic matter and create somewhere for moisture to be held.
Most importantly, I wanted the whole thing damp rather than soaking wet.
A very simple cover
I already had a sheet of plywood that was roughly the right size, so that became the lid.
There’s nothing sophisticated about it. The plywood simply sits across the top of the Besser blocks and I’ve got a brick sitting on it to stop the Cooma wind from sending it across the backyard.
I may eventually put hinges on it and tidy the whole setup up a bit, but there was no reason to complicate things before I knew how well the worm farm was going to work.
So apart from the worms themselves, most of the build was done using materials I already had around home.
Adding the worms
Once everything was ready, my little bloke came down with me for probably the most important part of the whole build.
Putting the worms in.
I started the farm with European night crawlers. They’re a good-sized worm and, importantly for my purposes, excellent fishing bait.
At the moment there aren’t huge numbers of them.
That’s intentional.
The idea isn’t to fill the bed with thousands of purchased worms. It’s to give the ones we’ve got a good home, look after them and let the population establish itself naturally.
That’s going to take time.
This isn’t a project where I expect to build the bed on Saturday and have unlimited fishing bait by next weekend.
I’m thinking much further ahead than that.
Feeding the new residents
Their first proper feed was a collection of vegetable scraps from the kitchen, including corn, potato peelings and a few other bits and pieces.
I probably gave them a little more than I originally intended.
We’ll see how they handle it.
For now I’ll let that start breaking down before continually throwing more food in there. Part of this whole exercise is going to be figuring out what works as we go.
Eventually, feeding the worms is another job my son can take over.
Vegetable scraps from the kitchen don’t have to just go in the bin.
They can go down to his worm farm.
The highly sophisticated lid
The lid currently consists of a sheet of plywood.
And a brick.
That’s it.
The ply sits over the top of the bed to provide some protection and help keep conditions underneath reasonably stable, while the brick performs the highly technical job of stopping the Cooma wind from relocating the lid somewhere down the street.
I may put hinges on it eventually.
But right now it works, and that’s good enough.
Playing the long game
That’s probably what I like most about this little project.
There isn’t really an immediate payoff.
The worms need time.
My son needs time.
And that’s completely fine.
Over the next year or two, hopefully the worm population grows, the bed improves and he gradually becomes old enough to understand what we’re doing with it.
Then one day it won’t really be Dad’s worm farm anymore.
It’ll be his.
And hopefully there’ll come a Saturday morning where we’re getting ready to head towards the lake, I’m loading the rods into the vehicle, and I can send him down the backyard with a container.
“Mate, grab us some worms. We’re going fishing.”
If we get to that point, the project has worked.
I’ll keep documenting how the farm develops as the worms establish themselves — and hopefully there’ll eventually be a Country Campfire update featuring a slightly older young bloke proudly digging out our fishing bait.tical country life, there’s plenty more to come here on Country Campfire.
